3D Rendering
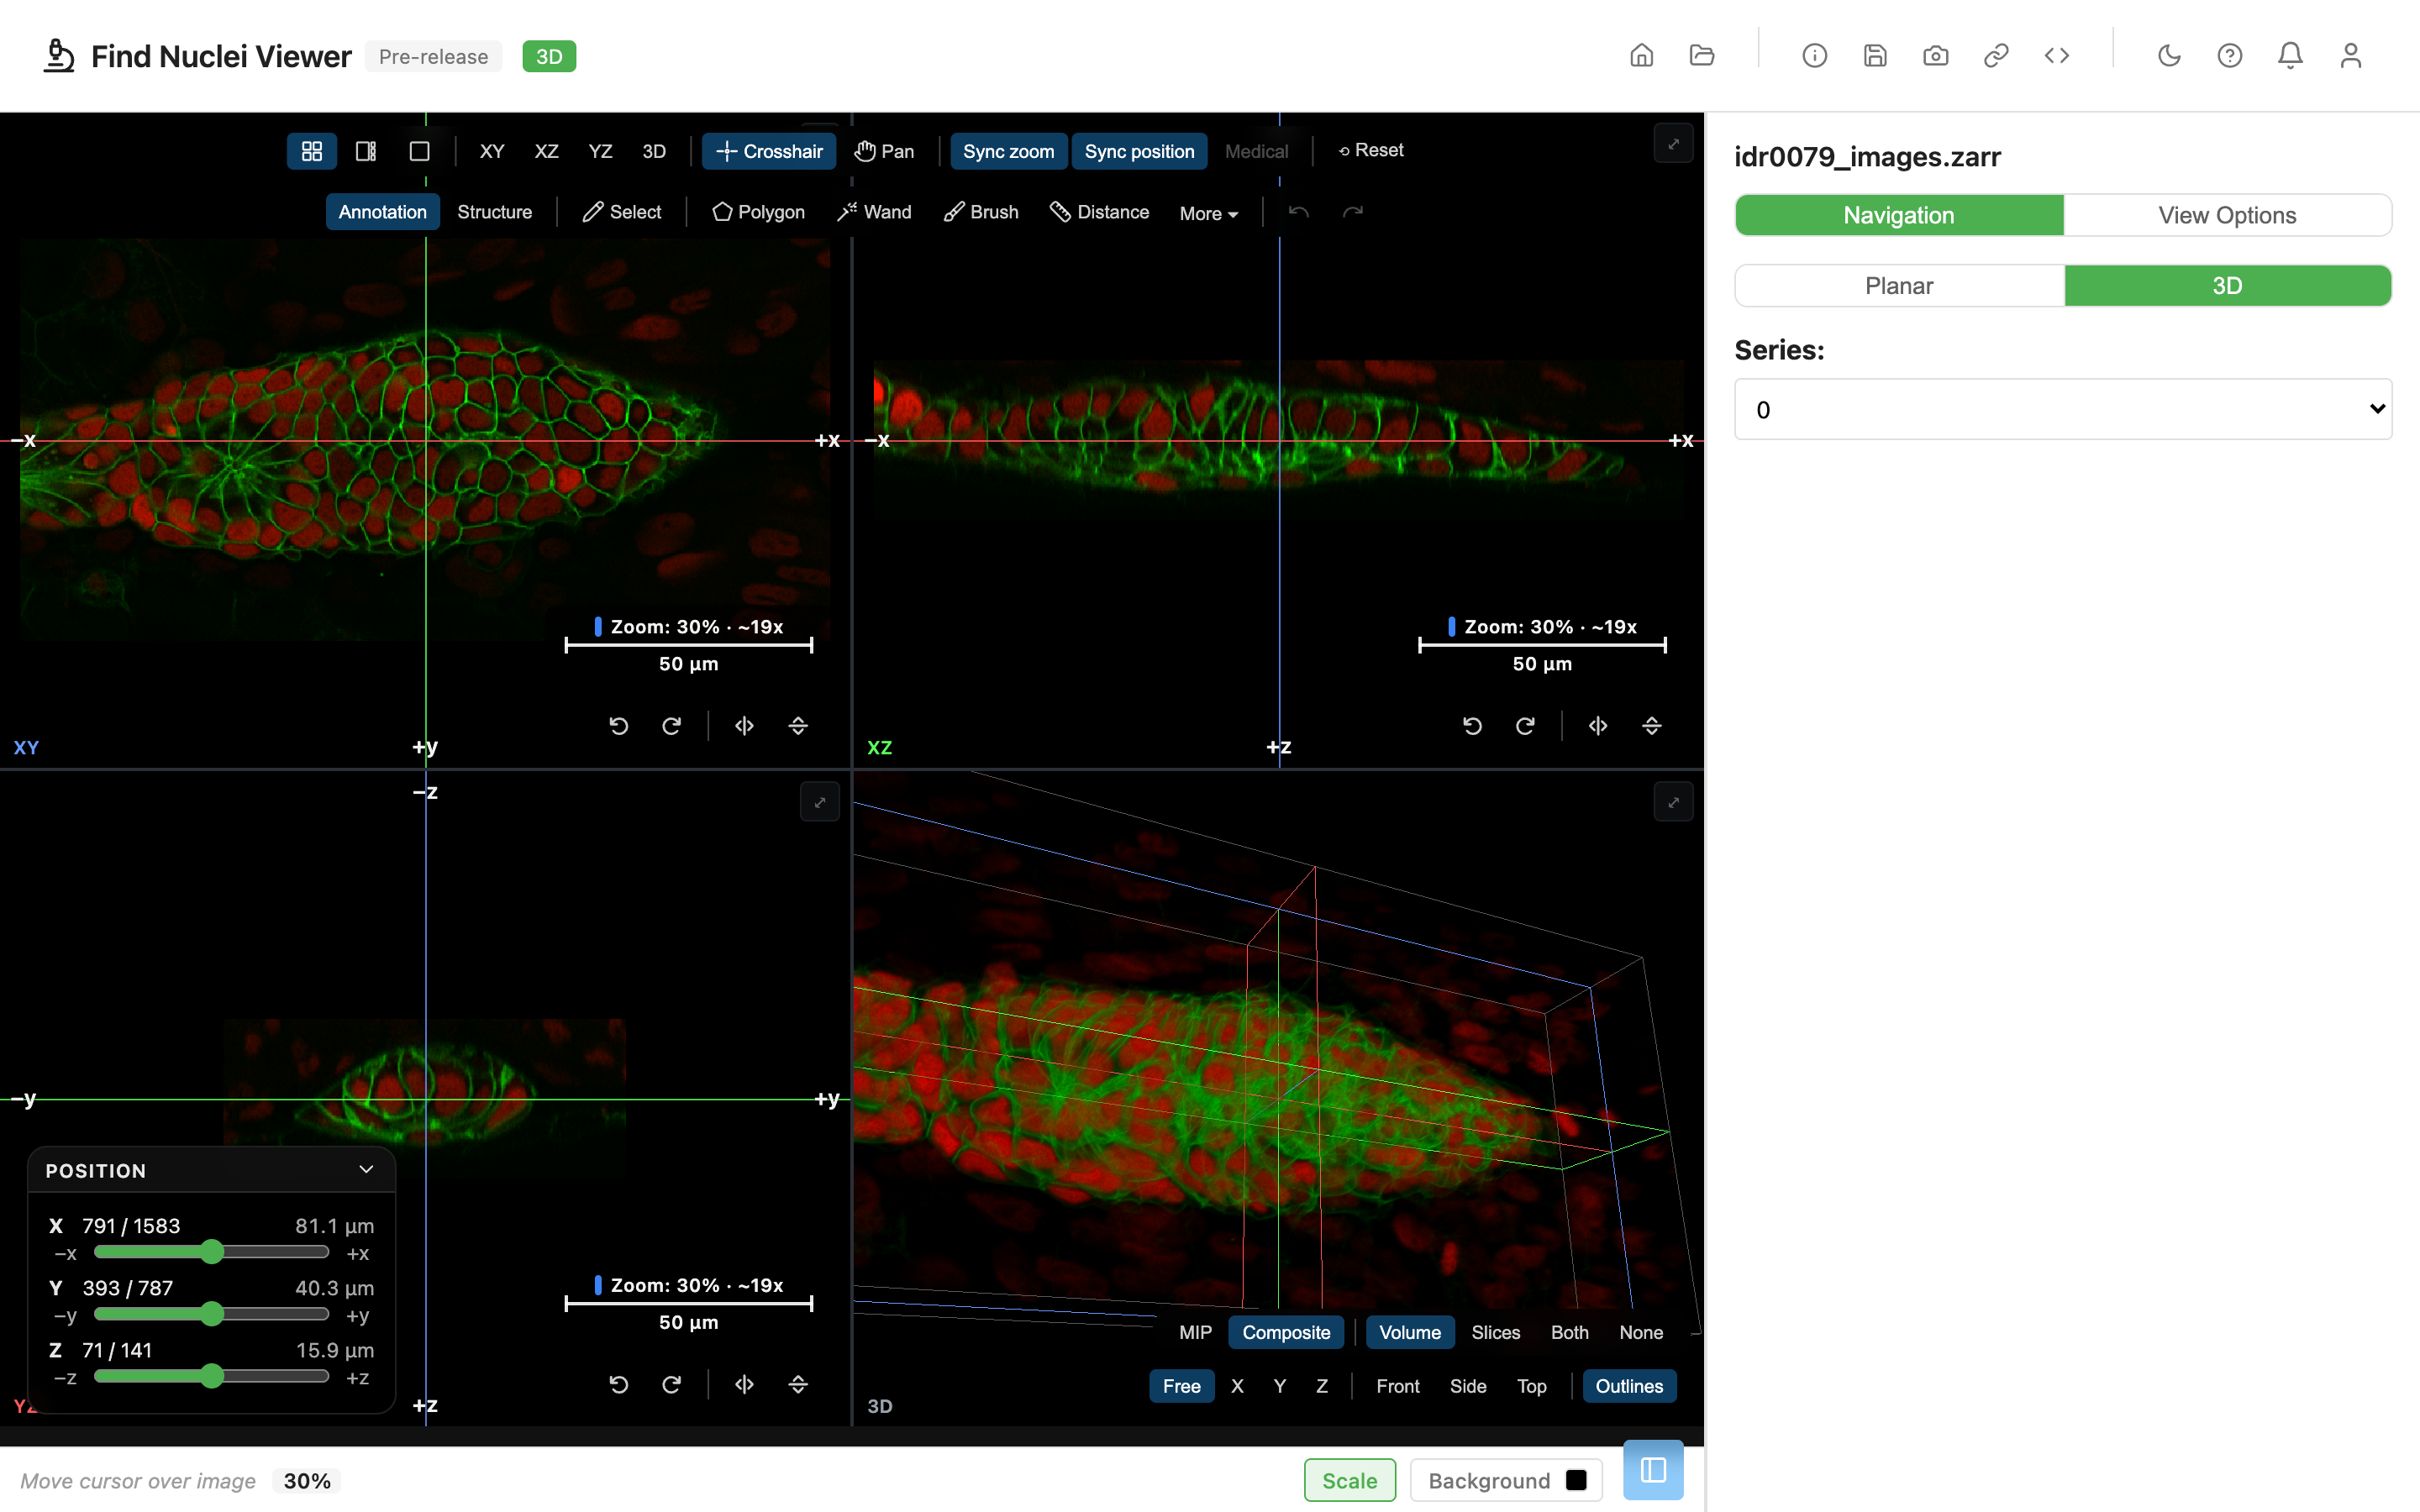
A z-stack is a volume. Planar view shows it one plane at a time, or flattened by a projection. 3D shows the whole thing at once: three orthogonal planes with a shared crosshair, next to a volume rendering you can turn with the mouse.
3D is part of the same viewer. There is nothing to install and nothing to upload. It opens from the image you already have open, and it takes your channels, your place and your annotations with it.
What you need
3D needs a desktop browser with WebGPU, and an image that has more than one z-section. It opens the images the viewer opens: from a URL, a local folder, an .ozx or .zip file (from your disk or its address), or a token-protected store. See Requirements and limits for the full list. Everything else in the viewer works without it.
Open an image in 3D
Planar is the default. An image always opens in Planar, and 3D is one click away.
- The 3D button. In the Navigation panel, next to the Z slider, the Planar | 3D switch has a 3D button.
- The 3D badge. The header shows the mode. Click the badge to switch.
- The offer at open. When an image has z-sections, a notice over the image says "This image has 42 z-sections" and offers Open in 3D. It goes away on its own after about 12 seconds. The cross dismisses it for the rest of the session.
- A link. A link with
mode=3dopens in 3D. See Link parameters.
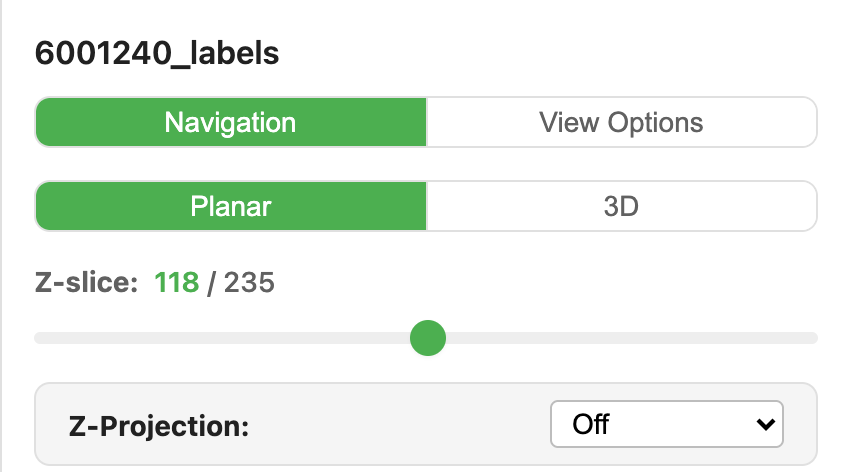
To go back, click Planar in the switch or the 3D badge.
If 3D cannot open an image, the 3D button shows disabled and its tooltip says why. If the browser has no WebGPU, or the image has one z-section or is RGB, or you are on a phone or tablet, the switch is not offered at all.
What comes with you
A switch keeps your place. These carry over, and carry back when you return to Planar:
- the channels: on or off, colour, contrast window and gamma
- the z-plane and the time point
- INV and the background
- your annotations
Plates
A field of a plate opens in 3D when it has z-sections. The plate navigation (the well map, the arrows and the field list) stays in the Navigation panel. Pick a well or a field there, and that field opens in 3D at the same z and time point.
In 3D a plate has only Field view. Well and Plate are disabled, with "Available in Planar" as their tooltip. If you are in Well or Plate view when you switch, Planar first moves to the field you are looking at.
See HCS Plates for the plate views.
The four panels
3D draws four panels:
| Panel | What it shows |
|---|---|
| XY | The plane you know from Planar, at the crosshair's z |
| XZ | A side cut through the stack, at the crosshair's y |
| YZ | The other side cut, at the crosshair's x |
| 3D | The volume rendering |
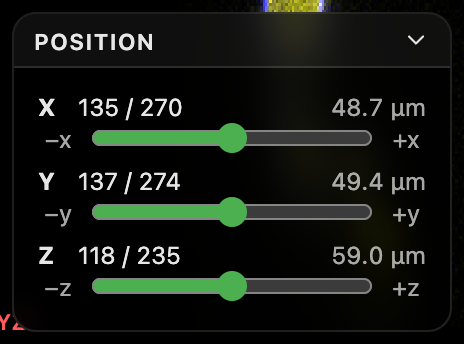
The three planes share one crosshair. In Crosshair mode, click or drag on a plane to move it. The other planes and the volume follow. The Position card holds the X, Y and Z sliders and, on a time-lapse image, T. Press M to fold or open it.
Anatomical orientation
Some images record which way is up in the body: superior and inferior, left and right, anterior and posterior. This comes from the OME-Zarr metadata (the anatomical orientation proposal, RFC-4). When an image has it, 3D uses it:
- The ends of each axis carry their anatomical names, at the edges of the planes, in the Position card and on the axis lock buttons of the 3D panel.
- Medical on the canvas toolbar shows the planes the radiological way: superior up, and the patient's right on the left of the screen.
- The image's Info dialog lists the orientation.
Without that metadata, the axes are named x, y and z, and Medical is disabled.
Layouts
The layout buttons on the canvas toolbar choose how the panels share the space:
- 2×2 shows four equal panels. This is the default.
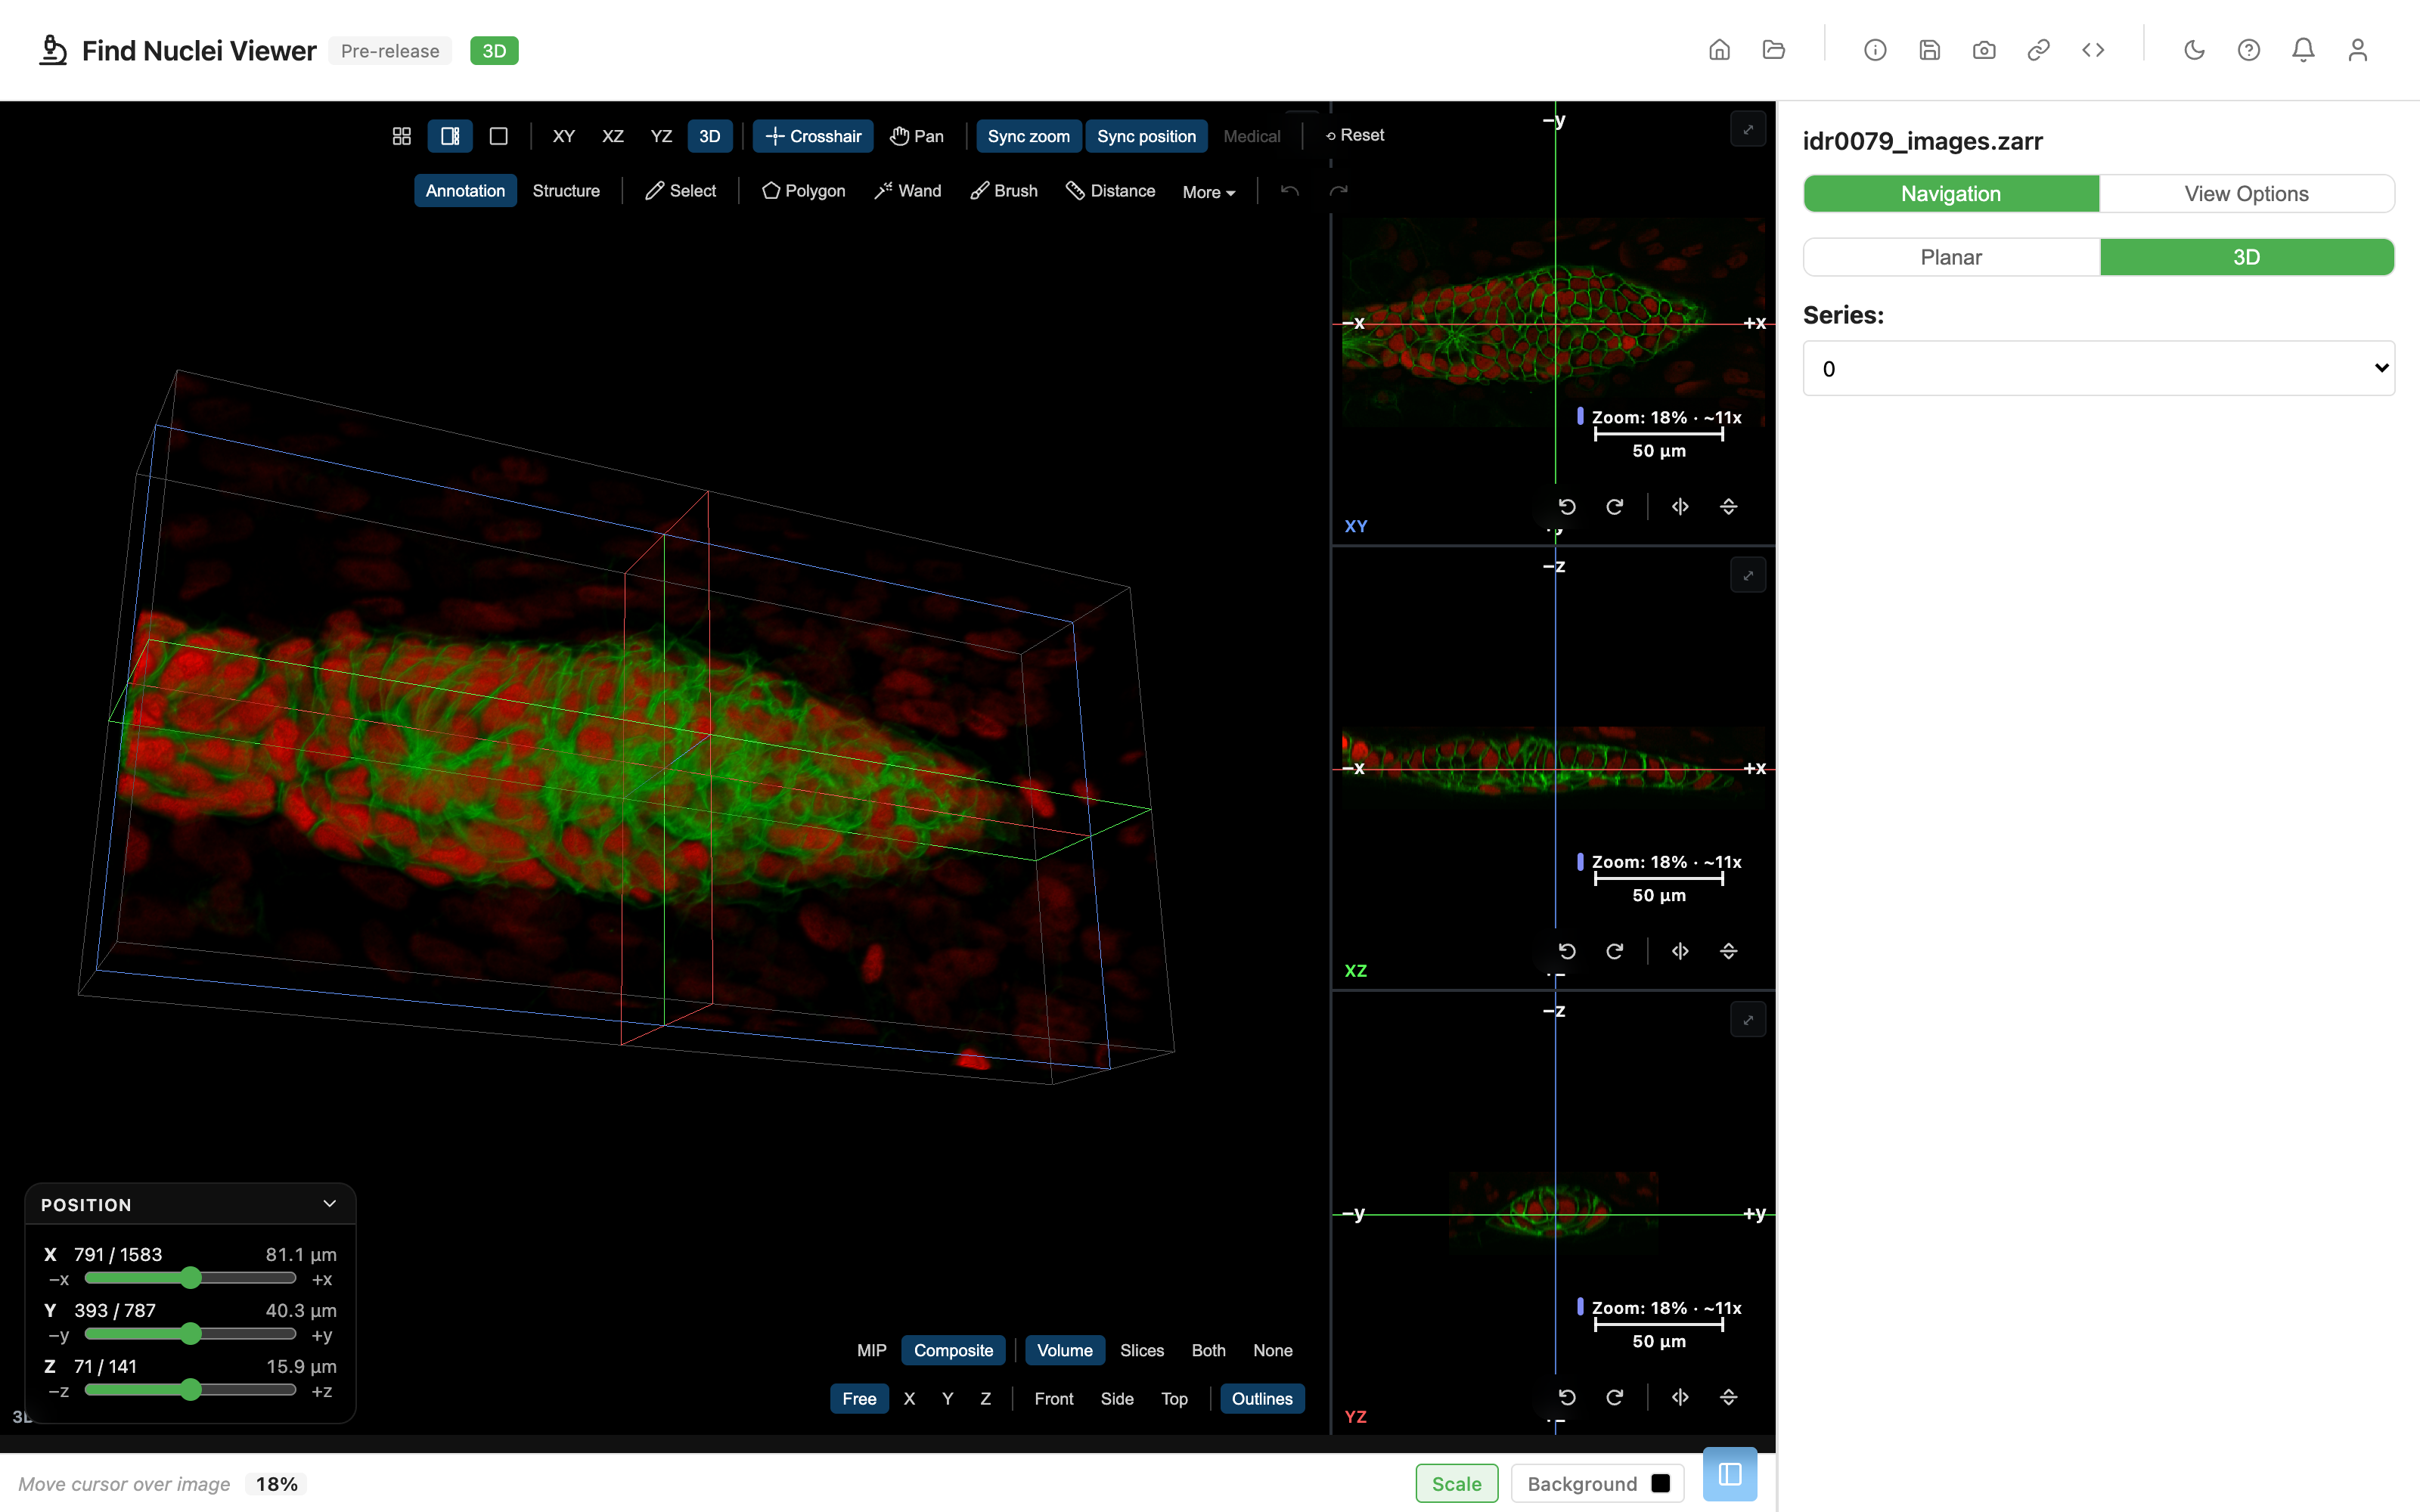
- 1+3 shows one big panel and three small ones.
- 1 shows one panel.
The buttons labelled XY, XZ, YZ and 3D pick the big panel. In the 2×2 layout, pressing one of them switches to 1+3 with that panel large. Opened without a main parameter, the big panel is the 3D one.

Moving around
| Where | Action |
|---|---|
| A plane, Crosshair mode (default) | Click or drag to move the crosshair. The wheel moves the slice. Cmd or Ctrl + wheel zooms. Shift + drag pans |
| A plane, Pan mode | Drag pans. The wheel zooms. Cmd or Ctrl + click moves the crosshair |
| The 3D panel | Drag to orbit. Shift + drag, or right drag, pans. The wheel zooms. Double-click resets |
Other controls on the canvas toolbar:
- Sync zoom makes the planes zoom together. Sync position makes them pan together, and on, they centre on the crosshair.
- Medical uses the medical plane convention, with the superior side up. It needs anatomical orientation in the image's metadata, and is disabled without it.
- Reset fits the planes and resets the 3D camera.
On the 3D panel, Free, X, Y and Z lock the orbit to one axis. Front, Side and Top jump to a quick view. Outlines frames the three crosshair planes.
The full list of keys is in the viewer's Help dialog, under ? or F1. A few are worth knowing now: 1 to 9 turn channels on and off, + and - zoom the plane under the mouse, 0 fits it, and , and . step through time.
MIP and Composite
The render mode sits on the 3D panel, next to the scene buttons.
MIP (maximum intensity projection) shows the brightest value along each ray through the volume. It is the 3D version of the maximum projection in Z-Projection. Use it for bright, sparse signal: nuclei, neurons, axons, puncta. It follows each channel's contrast window.
Composite accumulates colour and opacity along each ray, front to back. Near structures hide far ones, so a surface looks like a surface. Use it for solid or layered objects, such as a skull or a carp in CT. Which values count as solid is set by the opacity ramp.
The same volume, both ways. These are the nuclei of a small cell cluster, 236 planes, two channels.
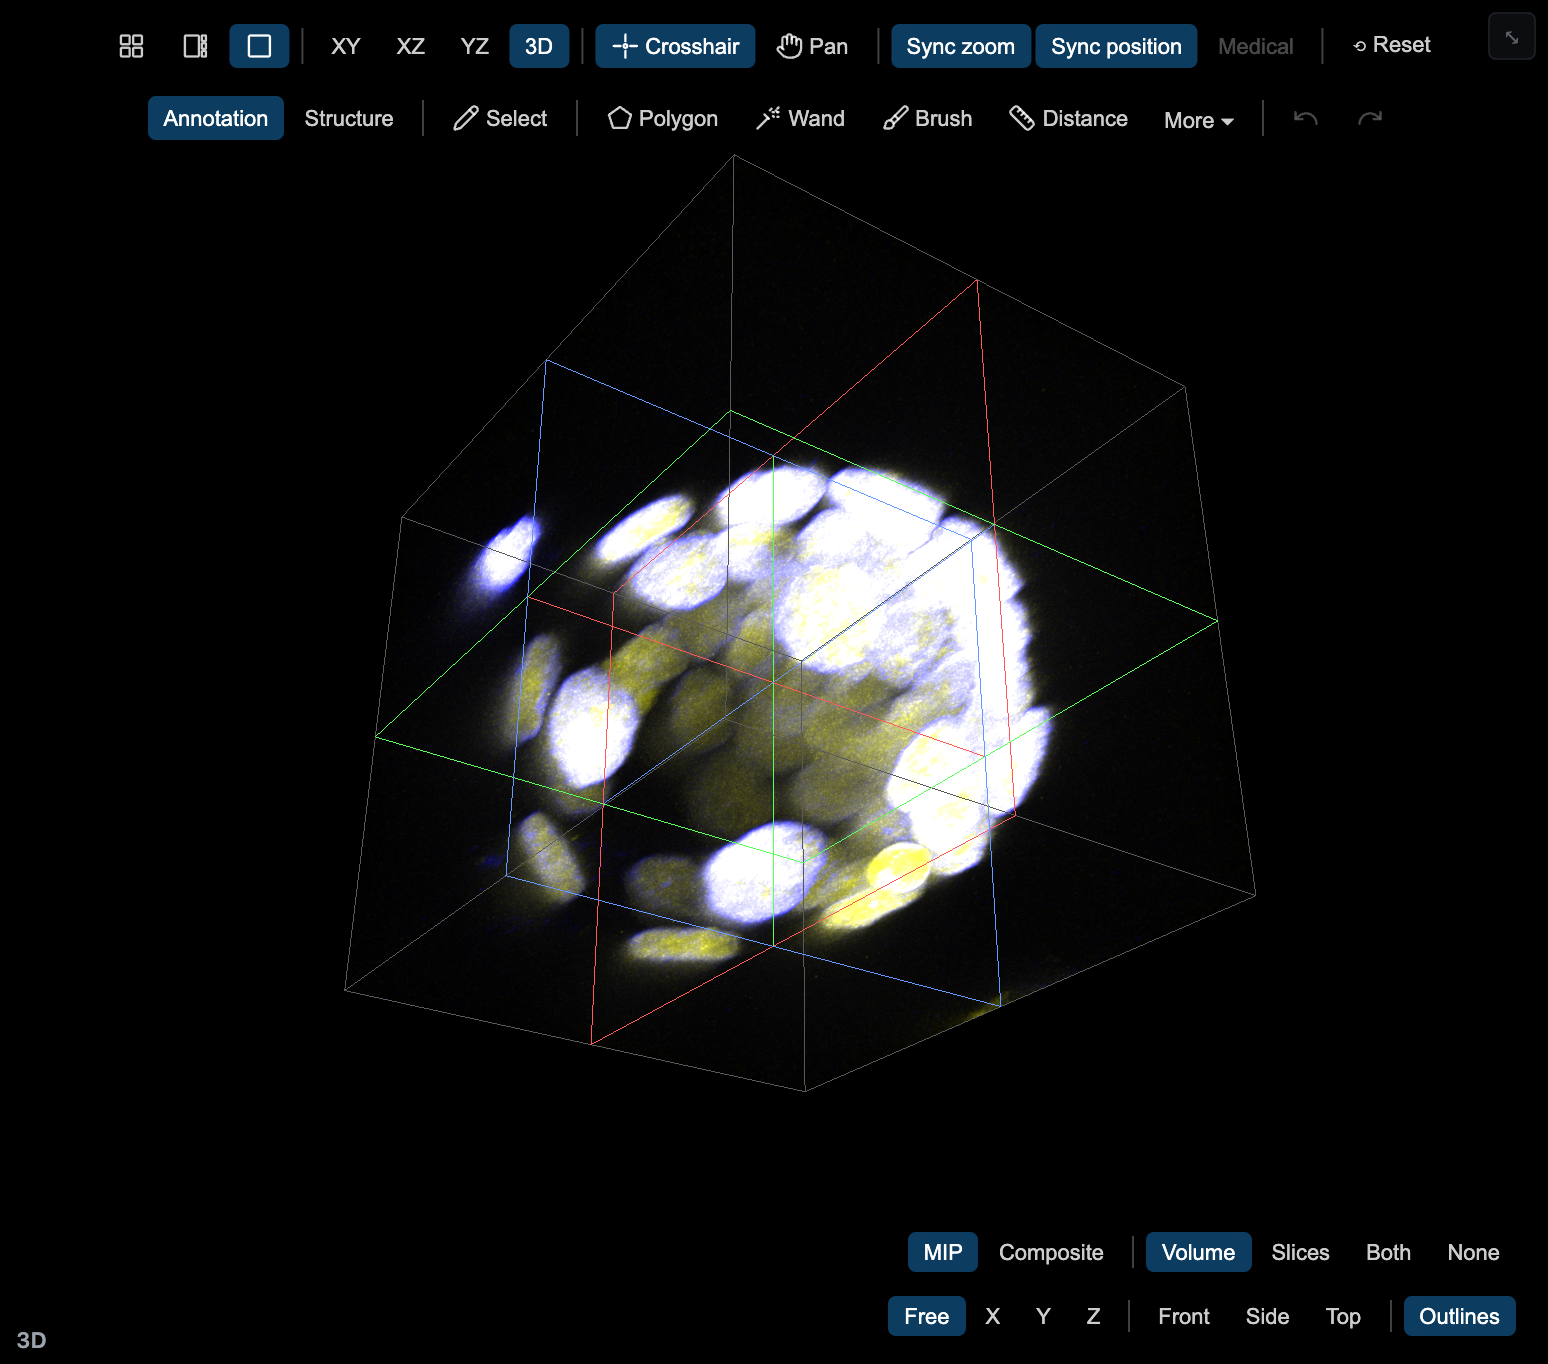
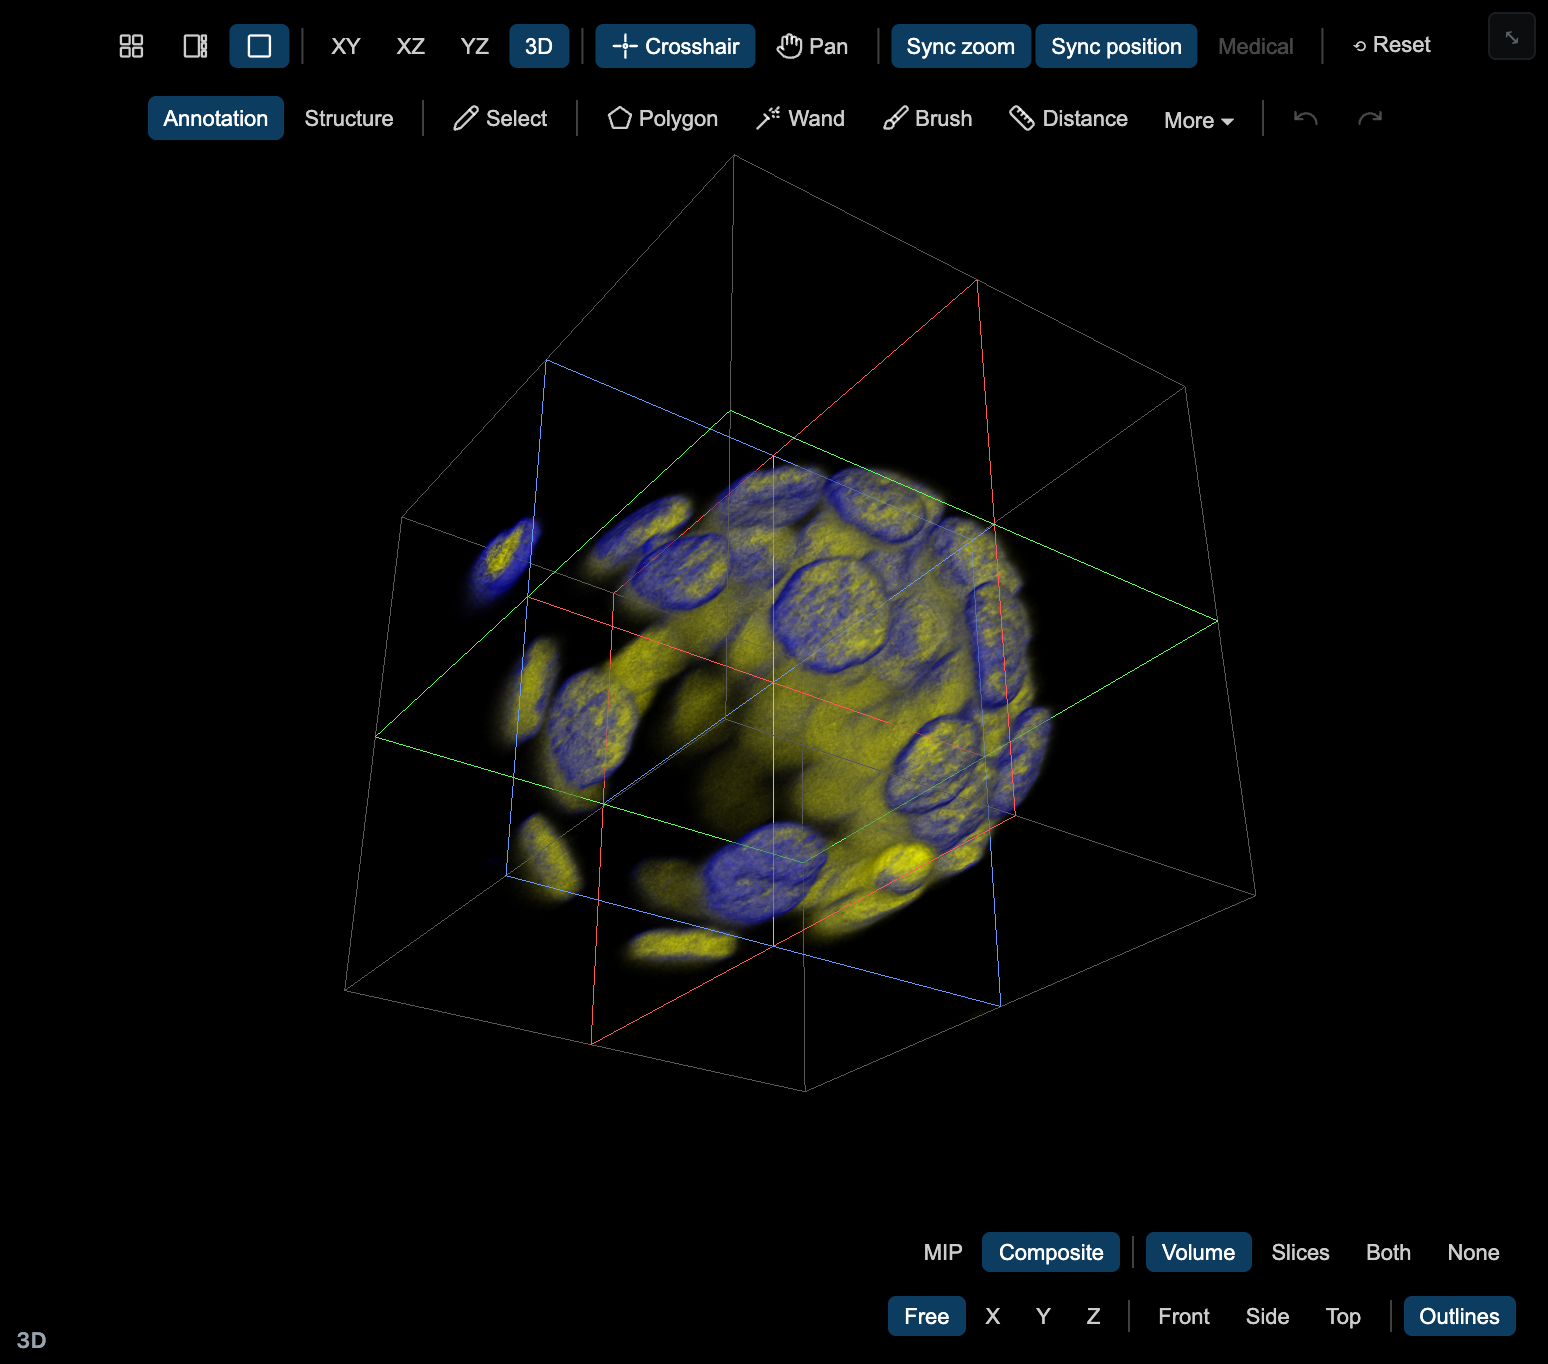
When the image opens, one channel starts in Composite and several channels start in MIP. Change it with one click. The link remembers the mode when it differs from that default (rm=mip or rm=composite).
The scene buttons next to it choose what the 3D panel draws:
- Volume: the volume only
- Slices: the three crosshair planes only
- Both: the volume in front of the planes
- None: no image, only annotations, the crosshair and outlines
In the Settings card of the Channels tab, Brightness has a slider, and in Composite so does Density. LIGHT turns on gradient shading and works in Composite only.
Dragging is kept fast on purpose. While the view moves, the volume is drawn coarser, with fewer pixels and fewer samples. A moment after you stop, it redraws at full quality.
Channels in 3D
In View Options, the Channels tab works as in Planar: toggle a channel, change its colour, set its contrast window. The shown channels blend into one volume.
3D draws up to four channels at once. An image can have more. List them all, show any four. If you turn on a fifth, 3D refuses and says "3D shows up to 4 channels at once. Hide one first." If Planar was showing more than four when you switched, 3D keeps the first four and shows the same notice.
Heavy reads
3D reads the channels you show from the server. For a large volume with several channels, that is a lot of data. When 3D would read two or more channels and more than about 250 MB, a hint offers to keep one:
3D will read 2 channels (about 380 MB). Show only EGFP?
Click Yes and 3D hides the other channels, so it reads one. Click No and it reads them all. The hint shows once per image in a session and never blocks the view. When you go back to Planar, the channels 3D hid are hidden there too.
INV and BW
INV in the Settings card flips dark and bright, as in Planar, and it carries over with the switch in both directions. BW in the same card shows the composite in greyscale.
The opacity ramp
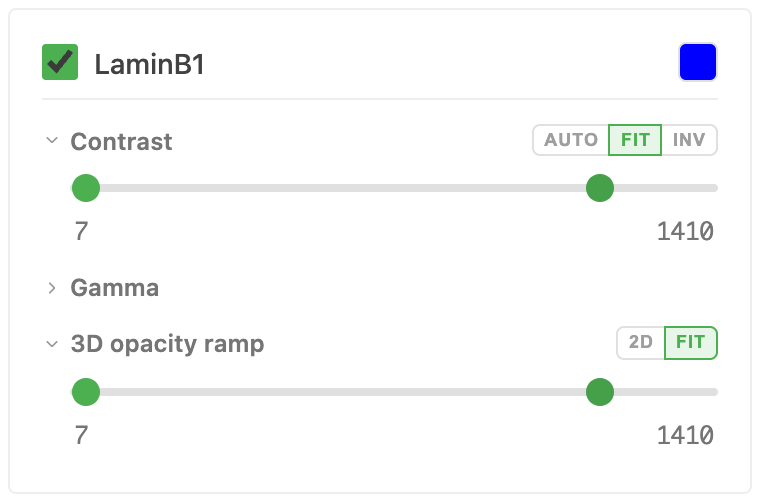
In Composite, every channel card has a 3D opacity ramp. It is separate from the contrast window of Planar. The window says how bright a value looks. The ramp says how opaque it is.
Values at or below the ramp's low end add no opacity. Values at or above its high end are fully opaque. In between, opacity rises in a straight line. Move the low end up to cut noise and haze. Move the high end down to make a structure more solid.
Two buttons sit on the section's header:
- 2D starts the ramp at the channel's 2D contrast window. This is the quickest way to a first result.
- FIT zooms the slider to the ramp's range. When the ramp is narrow compared with the full intensity range, a slider covering everything is too coarse to adjust. FIT makes it fine. Press it again to see the full range. It fits itself the first time a narrow ramp appears.
In MIP the ramp section is not shown.
Annotations across the switch
Annotations are one set for Planar and 3D. Switching keeps them.
- They are kept per image. On a plate, they are kept per field.
- Both modes read and write the same saved set. A switch saves what the mode you leave holds, and the other mode loads it.
In 3D you can draw on any plane. The second bar holds the tools: Select (V), Polygon (P, drag for freehand), Wand (W), Brush (R) and Distance (D). Under More are Point (B), Line (L), Angle (G) and Text (T). Cmd or Ctrl + click still moves the crosshair. Escape cancels and Cmd + Z undoes.
A shape is full on its own slice and faint on the other slices of its plane. It also shows where it crosses the two other planes. Lines and outlines show in 3D too.
Structure mode outlines one structure over several slices, and its volume shows in 3D. Switch between Annotation and Structure on the second bar.
See Annotations for the tools, templates and export.
Link parameters
A link with mode=3d opens in 3D. Without mode, it opens in Planar. The 3D view also reads these:
| Parameter | Meaning |
|---|---|
layout | grid (default), main or single |
main | The big panel: xy, xz, yz or v3d (default v3d) |
rm | Render mode: mip or composite. Left out, the image's default |
cam | An opening camera: cam=<yaw>,<pitch>[,<zoom>], angles in degrees |
sync, syncpos | 0 turns off Sync zoom or Sync position |
orient | medical for the medical plane convention |
pm, pt | Pointer mode (pan) and the planes' transforms |
t | The time point |
cam frames the first view. The viewer uses it once and takes it out of the address bar, and Link never writes it. A link you copy opens on the standard start view, not on your current camera.
A link that cannot open in 3D opens in Planar, with a notice that says why. That is the case on a phone or tablet, in a browser without WebGPU, and for an image with one z-section or RGB.
See Sharing Views for how links work in general. In 3D the header's Link button copies the 3D link, and Screenshot saves the 3D view.
Requirements and limits
- A browser with WebGPU. Without it, 3D is not offered, and its code is never downloaded.
- Desktop only. On a phone or tablet, the viewer stays in Planar.
- A z-stack. The image needs more than one z-section and must not be RGB.
- Where the image comes from. 3D opens an image from a web address, from a local folder (Chrome and Edge, the same browsers that open folders in Planar), from an
.ozxor.zipfile on your disk or at an address (a Dropbox file link included), or from a token-protected store. If 3D loses access to a folder (the browser let its permission lapse) or to a token-protected store (the token expired), a notice over the view says so and offers Allow access or Sign in. Once you have, 3D reopens where you were. If an image cannot open in 3D at all, a message says so and the viewer stays in Planar. - Four channels at once. See Channels in 3D.
- A connection. 3D is loaded the first time you switch, and the offline install does not include it. Planar keeps working offline. If the 3D code cannot be loaded, for example right after a new release, the viewer asks you to reload and stays in Planar.
- Heavy reads. Large volumes take time and bandwidth. See Heavy reads.
Examples
The Example Gallery has a 3D filter, and a 3D badge on every tile that shows depth. Eight tiles open straight in 3D. Each link below is the link the tile opens.
| Example | Opens as | Link |
|---|---|---|
| Lateral line primordium, zebrafish (IDR idr0079), 1584×788×142, 2 channels | Composite | Open in 3D |
| Neurons in marmoset visual cortex, 1024×1024×314 | MIP | Open in 3D |
| Axons in mouse barrel cortex, in vivo, 1464×1033×76 | MIP | Open in 3D |
| Head MRI, 256×256×109, medical convention | Composite | Open in 3D |
| Cerebral aneurysm, rotational angiography (C-arm x-ray), 256×256×256 | Composite | Open in 3D |
| Skull phantom, rotational CT, 256×256×256 | Composite | Open in 3D |
| Carp, CT, 256×256×512 | Composite | Open in 3D |
| JUMP-Scope Phenix plate (Cell Painting, Opera Phenix), 384 wells, 3 z-planes, 5 channels | Plate field, well A/1 | Open in 3D |
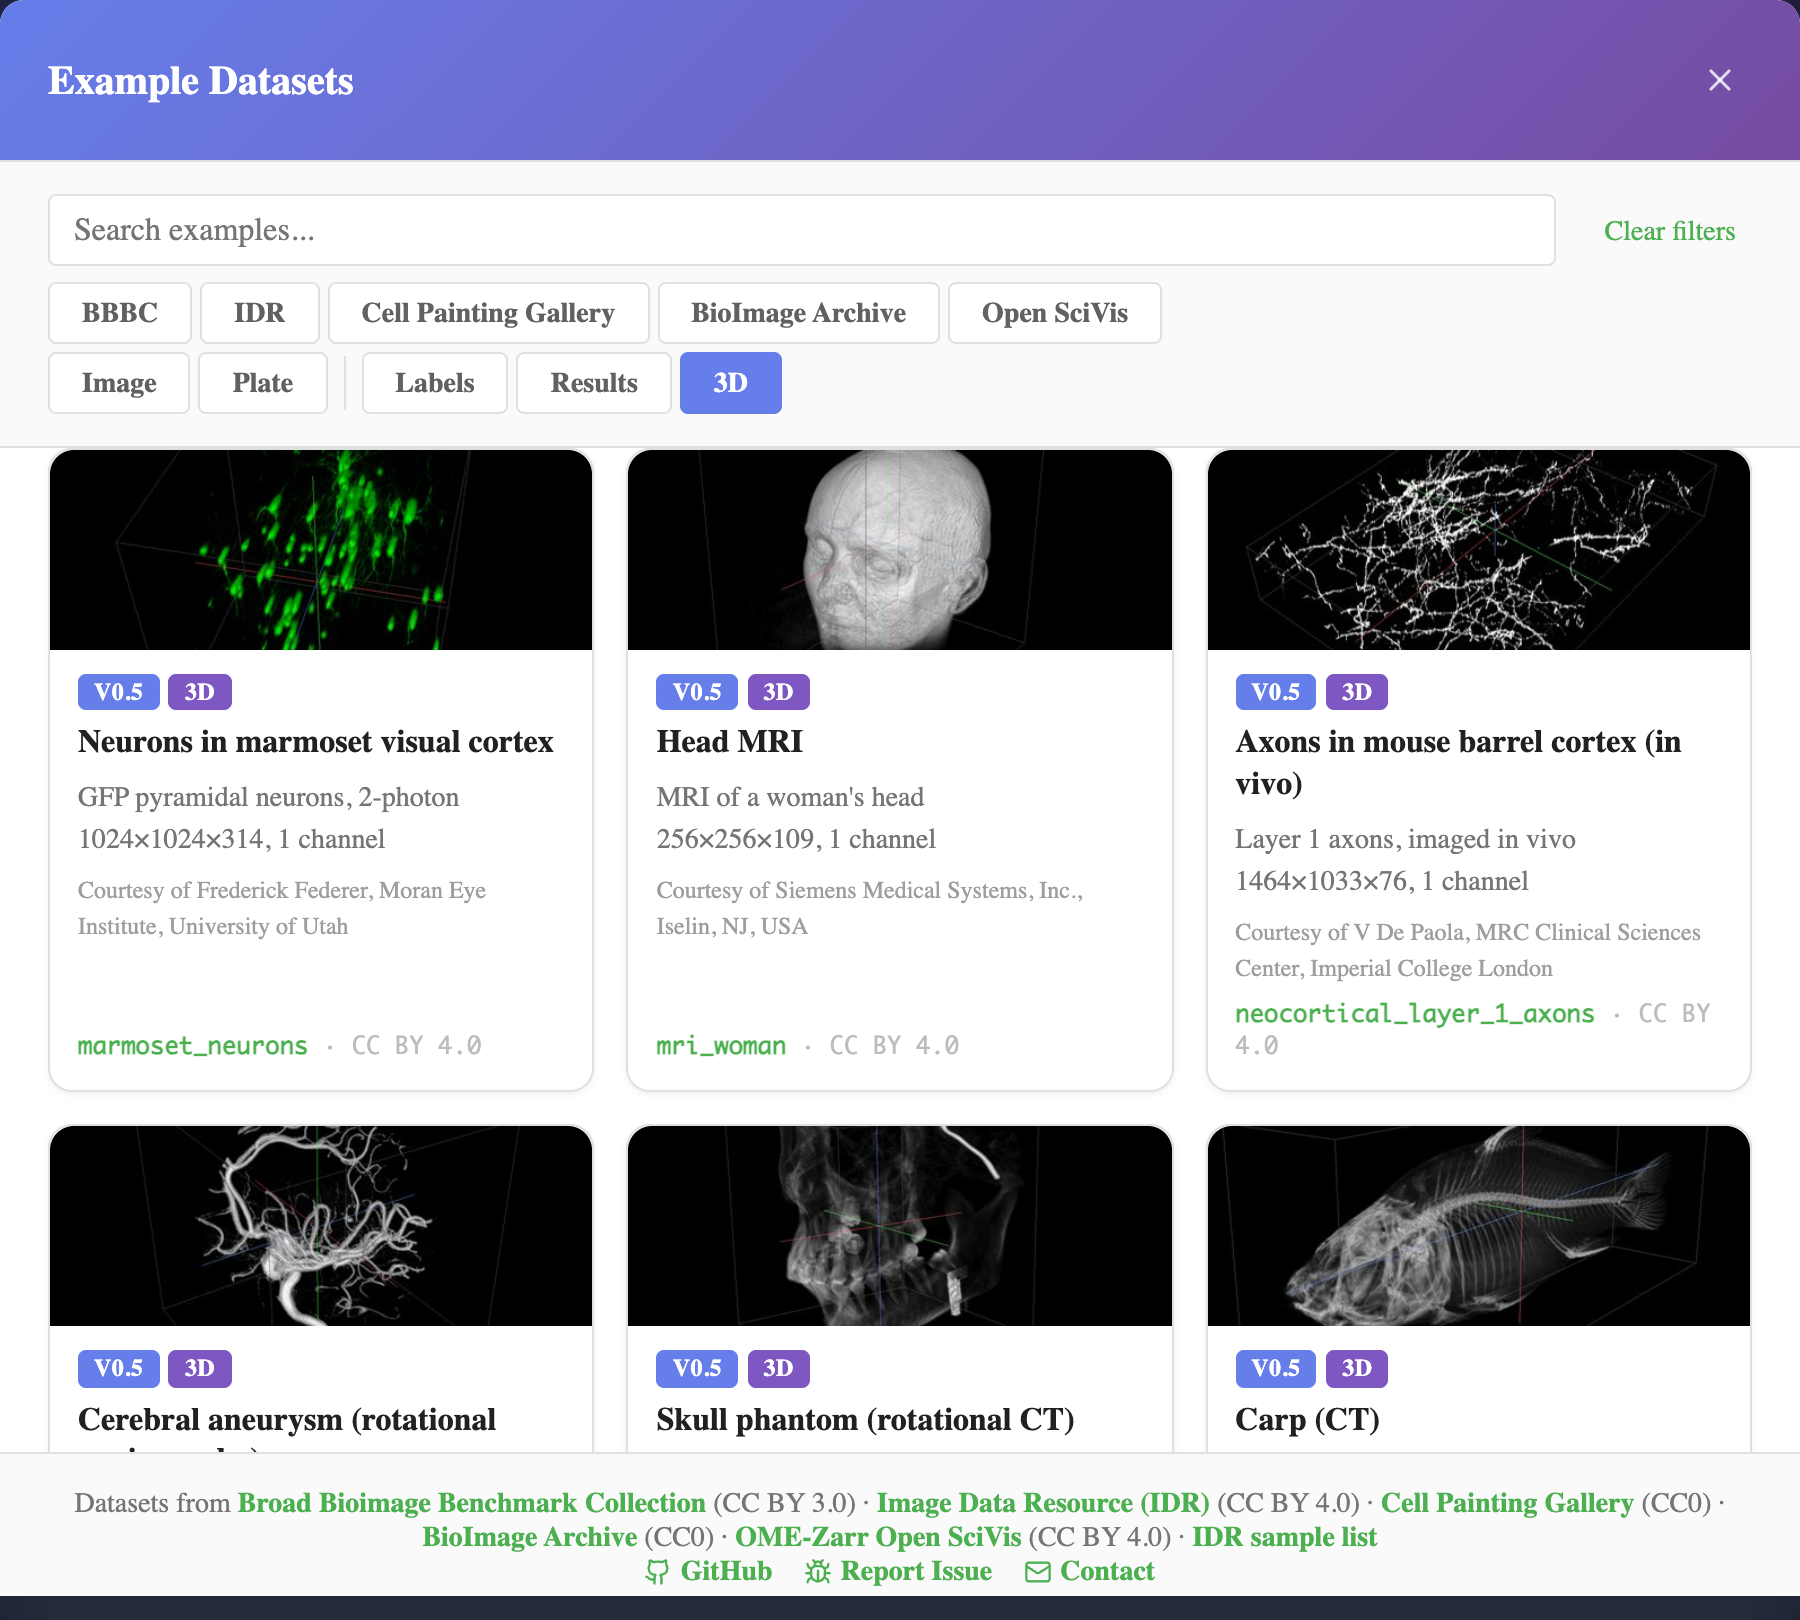
A good first try is the lateral line, which opens in Composite. Click MIP to compare. The marmoset neurons open in MIP, so try Composite there.
The other z-stacks under the 3D filter, such as the confocal stacks and two plates from IDR, open in Planar with their curated views. Click 3D to see them as volumes.
Credits
The six volumes other than the zebrafish come from OME-Zarr Open SciVis Datasets, by McCormick, M. (2025), doi:10.5281/zenodo.17495294, recorded as CC BY 4.0. The zebrafish is IDR idr0079, CC BY 4.0. The plate is JUMP-Scope (cpg0002), from the Cell Painting Gallery, CC0, with the paper doi:10.1002/cyto.a.24786. Each gallery tile shows its dataset's credit.
Related guides
- Z-Projection: flatten a stack into one image instead
- Channels: colour, contrast and gamma, which carry into 3D
- Annotations: the tools you draw with in both modes
- Sharing Views: links, including
mode=3d - HCS Plates: open a plate field in 3D
- Supported Formats: what opens, and what 3D needs